一、自定义css
1.1 自定义字体
在站点项目根目录下面,在/assets/css/_custom.scss中添加以下代码即可自定义字体。推荐在中文网字计划 中挑选自己喜欢的字体。
1
2
3
4
5
6
7
8
// 引入字体 https://chinese-font.netlify.app/zh-cn/cdn/
@import url('https://chinese-fonts-cdn.deno.dev/packages/lxgwwenkai/dist/LXGWWenKai-Light/result.css') ;
// 自定义字体
html , body {
font-family : "LXGW WenKai Light" ;
font-weight : normal ;
font-size : 1 rem ;
}
1.2 自定义文章网格背景
在/assets/css/_custom.scss文件中添加如下代码:
 1
 2
 3
 4
 5
 6
 7
 8
 9
10
11
12
13
14
15
16
/** 添加网格背景 */
.single {
.single-subtitle {
color : #57606a ;
}
.content {
background-image : linear-gradient ( 90 deg , rgba ( 60 , 10 , 30 , .04 ) 3 % , transparent 0 ) , linear-gradient ( 1 turn , rgba ( 60 , 10 , 30 , .04 ) 3 % , transparent 0 );
background-size : 20 px 20 px ;
background-position : center ;
[ data-theme = 'dark' ] & {
background-image : linear-gradient ( 90 deg , rgba ( 195 , 245 , 215 , .04 ) 3 % , transparent 0 ) , linear-gradient ( 1 turn , rgba ( 195 , 245 , 215 , .04 ) 3 % , transparent 0 );
}
}
}
二、自定义js
在站点项目根目录下面,在/assets/js/custom.js中添加自定义的js代码。
2.1 设置网站title动态
设置网站title动态,当网页失去焦点时改变网页title,引起用户注意。
 1
 2
 3
 4
 5
 6
 7
 8
 9
10
11
12
13
14
15
16
17
18
19
20
21
22
23
24
25
26
27
28
29
30
31
32
33
34
35
36
37
38
39
40
41
// 动态设置网站title,当网页失去焦点时改变网页title,引起用户注意。
document . addEventListener ( 'DOMContentLoaded' , function () {
// 调试日志
// console.log('[动态标题] 脚本已加载');
const originTitle = document . title ;
let titleTimer ;
function updateTitle ( newTitle , duration = 2000 ) {
document . title = newTitle ;
if ( duration > 0 ) {
clearTimeout ( titleTimer );
titleTimer = setTimeout (() => {
document . title = originTitle ;
}, duration );
}
}
// 页面可见性变化
document . addEventListener ( 'visibilitychange' , function () {
// console.log('[动态标题] 可见性变化:', document.hidden);
if ( document . hidden ) {
updateTitle ( '👀 别走呀~ ' , 0 );
} else {
updateTitle ( '🎉 欢迎回来! ' );
}
});
// 窗口焦点变化
window . addEventListener ( 'blur' , function () {
// console.log('[动态标题] 窗口失去焦点');
updateTitle ( '💤 我在等你哦~ ' , 0 );
});
window . addEventListener ( 'focus' , function () {
// console.log('[动态标题] 窗口获得焦点');
updateTitle ( '😍 你回来啦! ' );
});
// console.log('[动态标题] 初始化完成');
});
三、设置Github提交记录贪吃蛇动画
分两步完成:
先通过 GitHub Action Platane/snk 生成 svg 动画并上传到 GitHub 仓库;
自定义博客首页头像 css,将贪食蛇动画 svg 作为首页头像的背景图片;
3.1 贪吃蛇动画生成
找一个公开仓库添加 GitHub Action 工作流,第一次提交后可手动执行,定时任务等效东八区时间每天早上 5:30 和下午 17:30 执行,以保证贪食蛇动画中的提交记录更新。
 1
 2
 3
 4
 5
 6
 7
 8
 9
10
11
12
13
14
15
16
17
18
19
20
21
22
23
24
25
26
27
28
29
30
31
32
33
name : Generate Snake Animation
on :
workflow_dispatch :
schedule :
# equal UTC/GMT+8 "30 5,17 * * *"
- cron : "30 9,21 * * *"
jobs :
generate :
permissions :
contents : write
runs-on : ubuntu-latest
timeout-minutes : 10
steps :
# https://github.com/Platane/snk
- name : generate github-contribution-grid-snake.svg
uses : Platane/snk/svg-only@v3
with :
github_user_name : ${{ github.repository_owner }}
outputs : |
dist/github-contribution-grid-snake.svg
dist/github-contribution-grid-snake-dark.svg?palette=github-dark
# push the content of <build_dir> to a branch
# the content will be available at https://raw.githubusercontent.com/<github_user>/<repository>/<target_branch>/<file>
- name : push github-contribution-grid-snake.svg to the output branch
uses : crazy-max/ghaction-github-pages@v4
with :
target_branch : output
build_dir : dist
env :
GITHUB_TOKEN : ${{ secrets.GITHUB_TOKEN }}
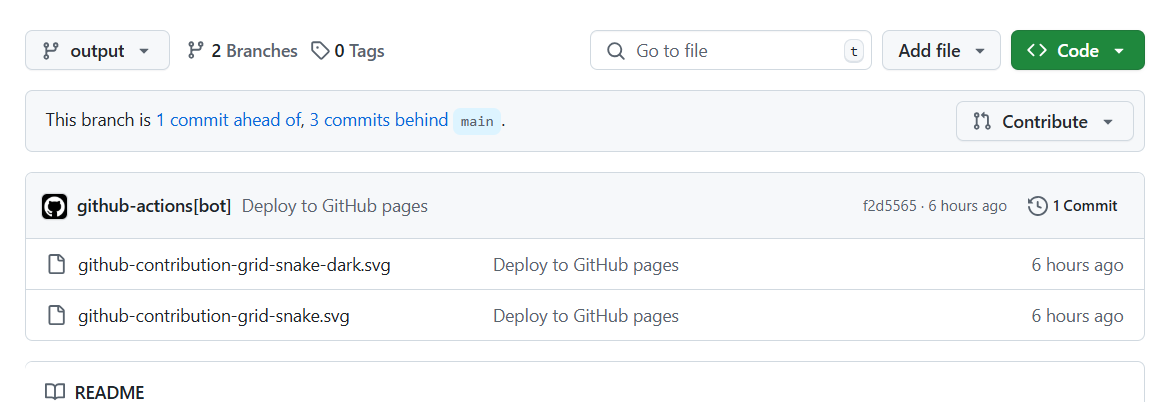
任务执行后,在仓库的 output 分支可以看到生成的 svg 文件:
3.2 自定义首页头像css
通过浏览器控制台定位头像元素:
 1
 2
 3
 4
 5
 6
 7
 8
 9
10
11
12
// assets/css/_custom.scss
.home .home-profile .home-avatar {
background-size : 100 % 100 % ;
padding : 1 rem ;
background-repeat : no-repeat ;
background-position : center top ;
background-image : url(https://raw.githubusercontent.com/beneliu/blog-resource/output/github-contribution-grid-snake.svg) ;
[ data-theme = 'dark' ] & {
background-image : url(https://raw.githubusercontent.com/beneliu/blog-resource/output/github-contribution-grid-snake-dark.svg) ;
}
}
因为background-image地址国内有时无法正常显示,可以用jsdelivr加速。将地址替换成https://cdn.jsdelivr.net/gh/beneliu/blog-resource@output/github-contribution-grid-snake.svg。jsdelivr的具体使用方法可以看jsdelivr 。
四、添加友链
先创建友情链接页面:
1
hugo new content friends/index.md
在 Front matter 中设置layout: friends,并在yourSite/data/目录下创建friends.yml,其内容格式如下:
1
2
3
4
5
# 朋友/站点信息例子
- nickname : 朋友名字
avatar : 朋友头像
url : 站点链接
description : 对朋友或其站点的说明
然后就可以将生成的友链页面添加到主页菜单栏了。
参考资料:
内容管理概述 | FixiIt 开放的自定义块 | FixiIt Fixit-主题美化记录 jsdelivr
 支付宝
支付宝
 微信
微信